Step-By-Step Guide to Applying Ceramic Coating for Vehicles
Step-By-Step Guide to Applying Ceramic Coating for Vehicles
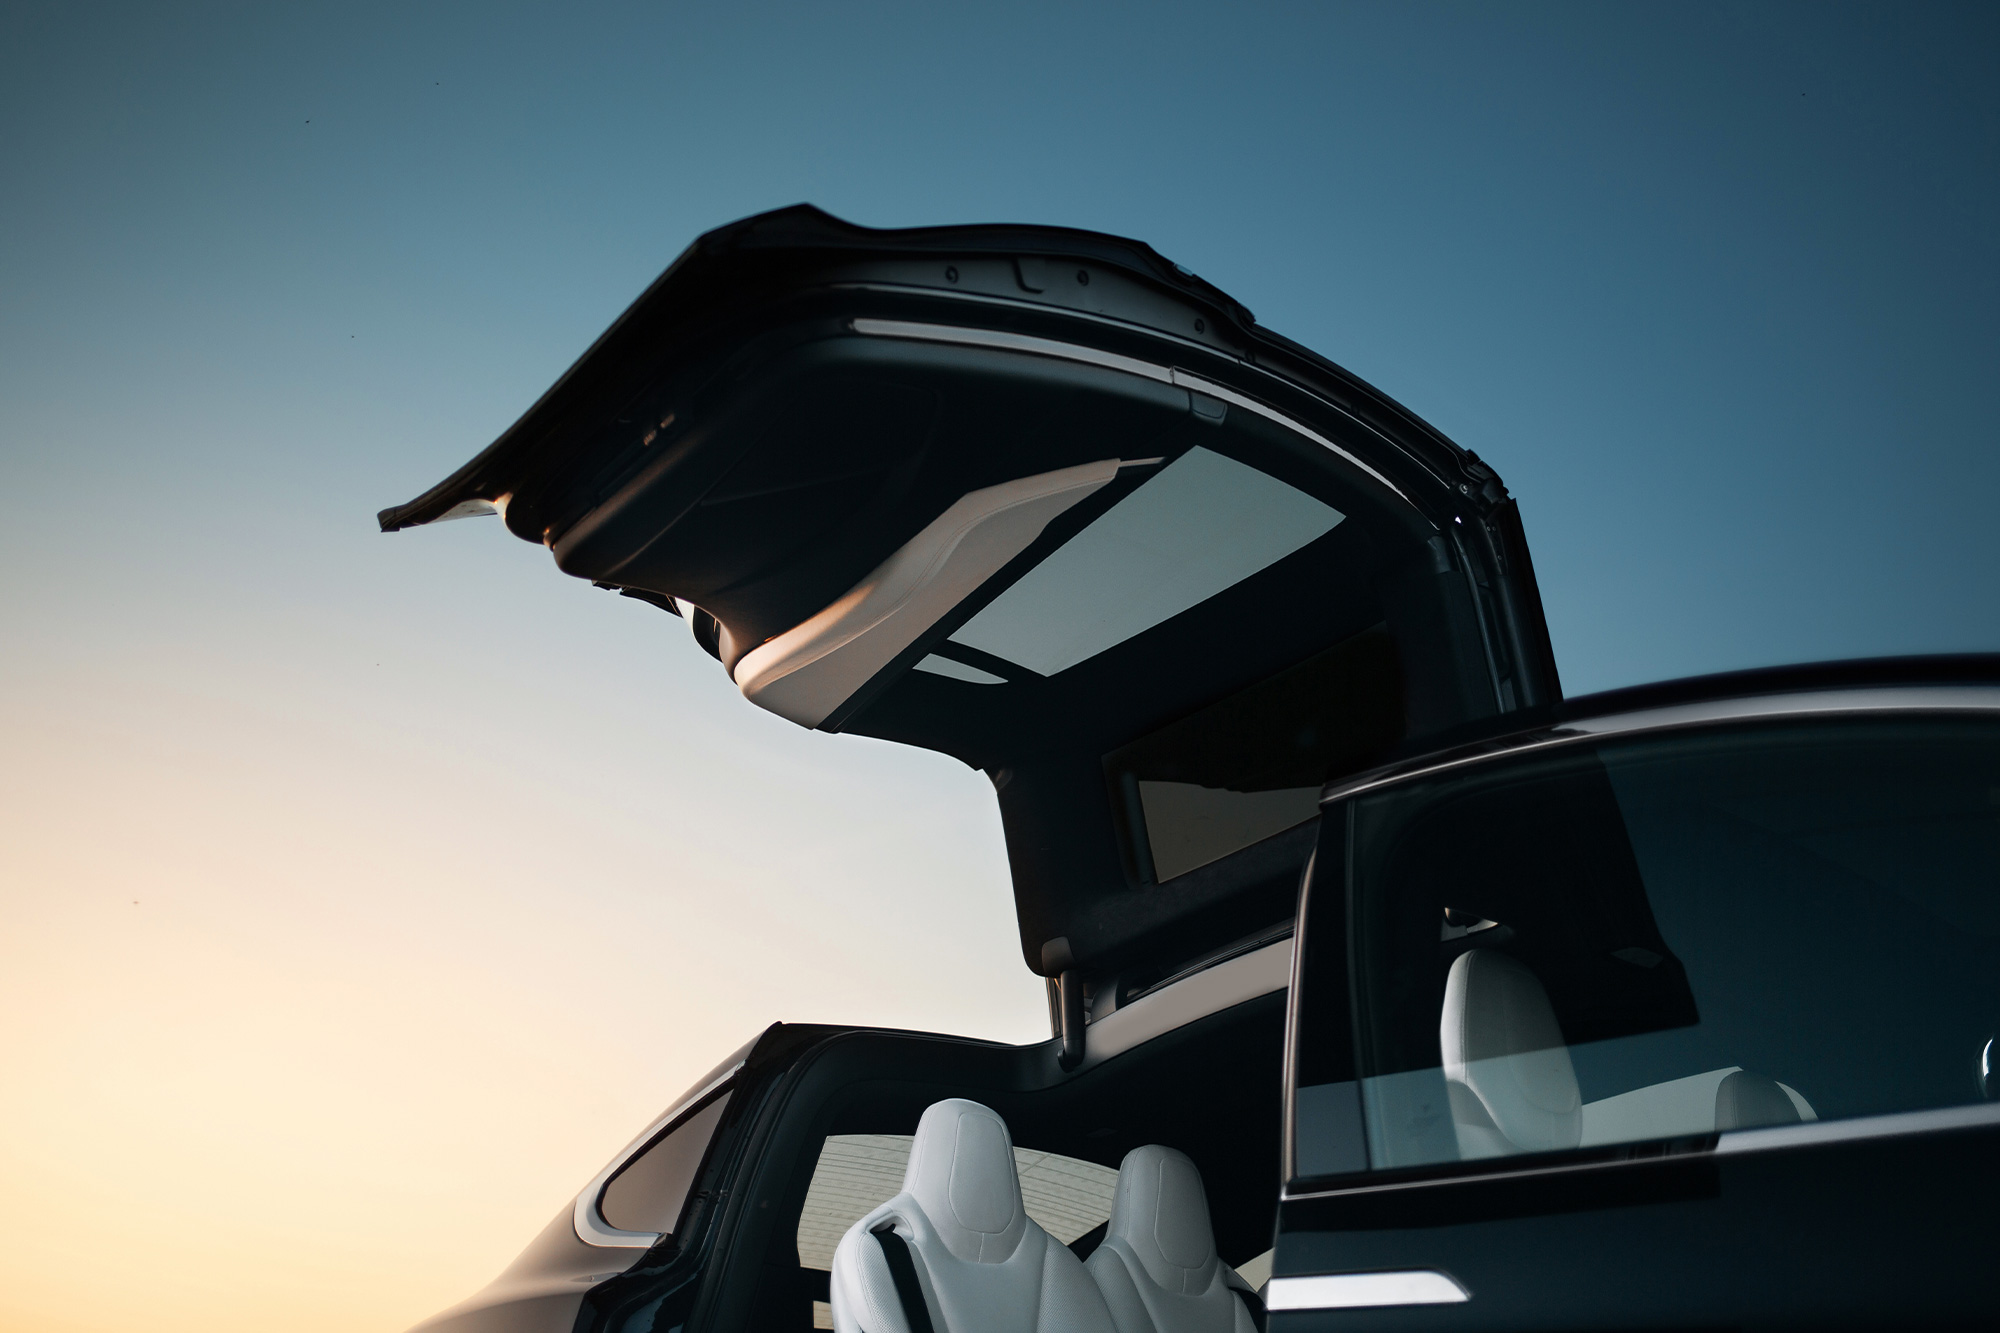
Applying a ceramic coating to a vehicle is a fab way to enhance its looks, make it easier to keep clean, and increase its value. The following breaks down the careful steps necessary to install the upgrade.
Step-by-step application: ceramic coating in 5, 4, 3, 2, 1…
- Step-by-step application ceramic coating: 1
- Step-by-step application ceramic coating: 2
- Step-by-step application ceramic coating: 3
- Step-by-step application ceramic coating: 4
- Step-by-step application ceramic coating: 5
Step-by-step application ceramic coating: 1
The first step is to wash the car. Rinse off debris with fresh water before shampooing with a top-quality product. Rinse again and dry with a chamois. Don’t forget the wheels!
Step-by-step application ceramic coating: 2
If you haven’t already done so, the car should now be moved to a sheltered location. Ideally, this should be temperature controlled to allow for the correct curing as per step 5.
The next stage is to clay bar the vehicle. This is a long and painstaking process, whereby you must cover every nook and cranny, removing every last trace of dirt and grime. Failing to do this correctly means you’ll end up sealing contaminants to the paintwork.
Step-by-step application ceramic coating: 3
Now for the paintwork correction. No matter how new and shiny your vehicle might be, there’re going to be some anomalies. The tiniest of scratches and paint whirls need to be removed—using a paint sander if necessary. Only once this is complete is the car ready to have the ceramic coating applied.
Step-by-step application ceramic coating: 4
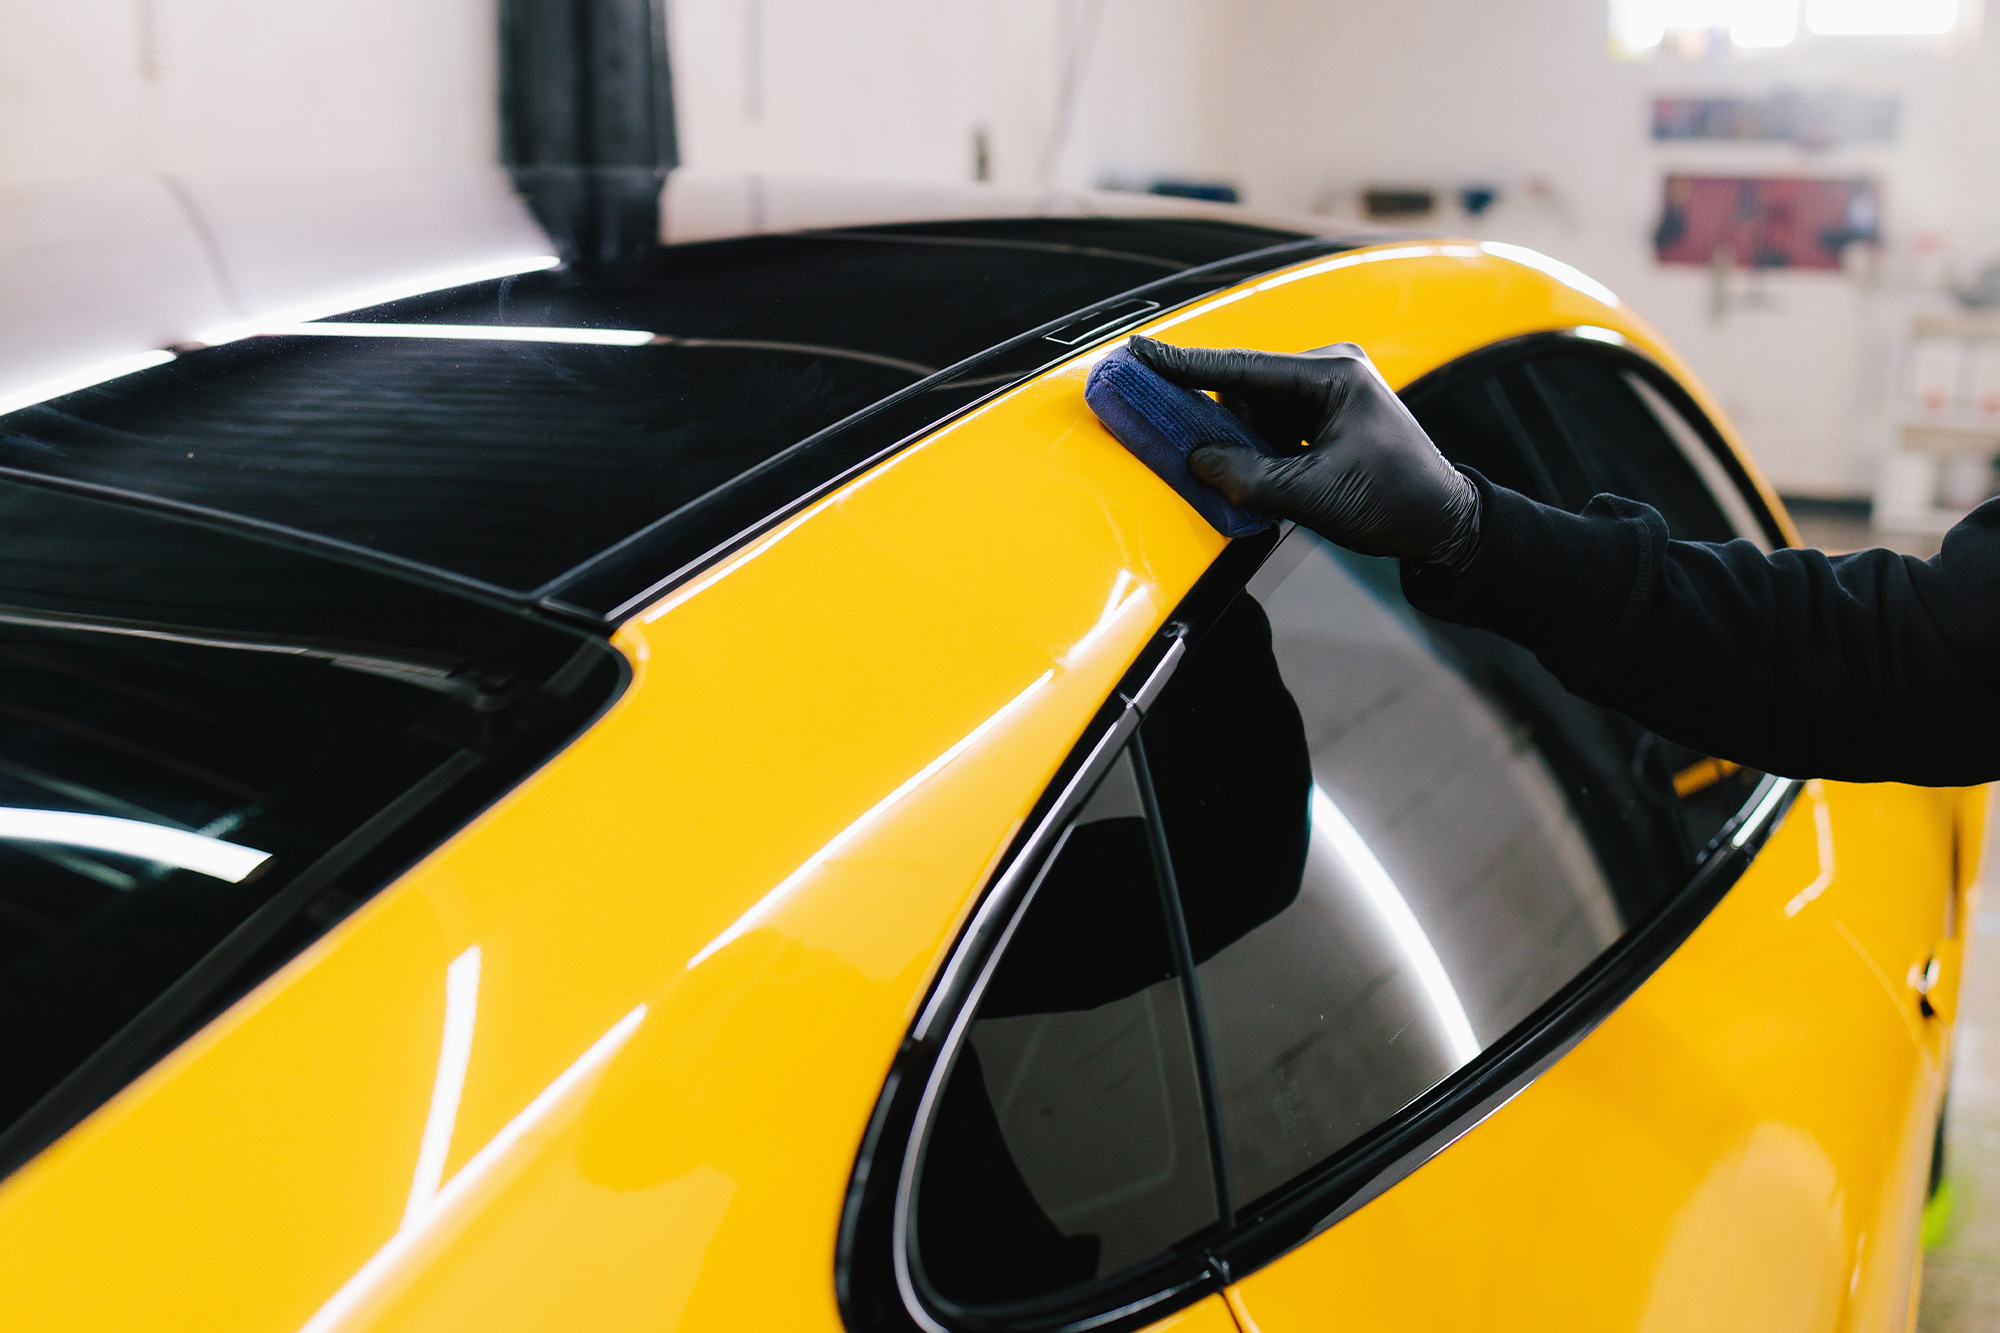
Now the fun begins… Apply the coating section by section, ensuring that you follow the manufacturer’s instructions to the letter. Again, this is a long and laborious process. It’s essential that you take your time, covering the paintwork evenly and wiping it in a single direction only.
Each panel should be polished with a fine microfiber cloth a minute or two after the coating is applied. This is to remove any blemishes. Don’t press too hard—you’re only trying to polish, not remove the coating you’ve just applied. Once done, buff for 60-90 seconds with an even finer microfiber cloth.
The ideal temperature to apply the coating is around 77 degrees Fahrenheit (plus or minus a few degrees). This ensures the coating doesn’t cure too quickly and allows you to apply it evenly.
Step-by-step application ceramic coating: 5
Once the coating is in place, it’s time to walk away and leave it to cure for a minimum of 24 hours—preferably 48 hours. We’re assuming that you’ve carried out all of the above steps in a sheltered area, such as a workshop or garage. You should now shut the door and walk away, resisting the urge to return and look at your handiwork.
Every time you open the door, you risk introducing contaminants into the closed environment. If this happens too soon, they can settle on the coating before it’s cured, spoiling the finish.
After 48 hours, you’re ready to rock and roll. The coating will now be well bonded to the paintwork, and you can drive, ride, or sail her wherever you choose to go….
Leave it to the Pros: Call Auto SuperShield Today for the Ultimate Ceramic Coating Installation
If we can be frank, a DIY ceramic coating has massive failure potential. From the lack of right facilities to poorly executed prep, getting it wrong isn’t only a waste of time, it can actually devalue your vehicle.
At Auto SuperShield, we’ve perfected the art of ceramic coating application over many years and thousands of vehicles. If you demand the ultimate service and result, then give us a call today
Head to https://www.autosupershield.com/ceramic-coating to find out more
Related Posts
How can we help you?
We have an incredibly quick turn around time and have staff ready to take your call!
Email us at your convenience.
We'd love to see your vehicle!
We have staff awaiting your call!